More Parts Finishing
Parts finishing continues with the wheels.
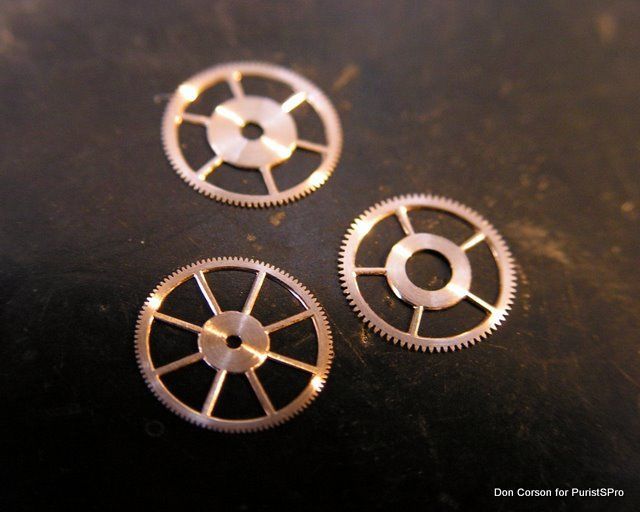
Here we see the wheels as delivered by ETA, the form stamped, the teeth cut and then flash
gold plated to prevent corrosion; quality high volume production, but not pretty.
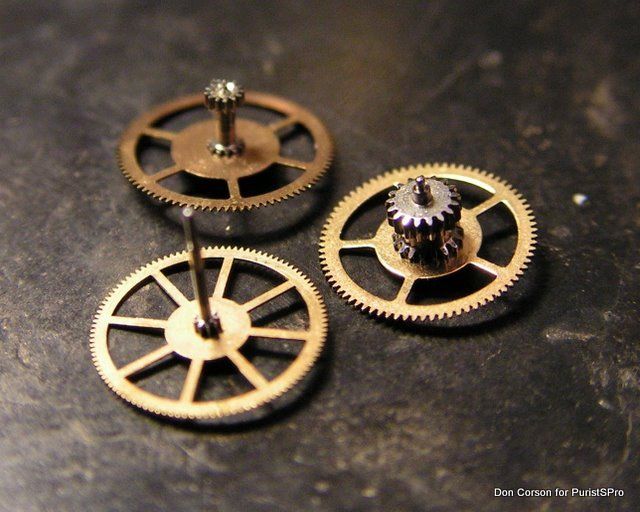
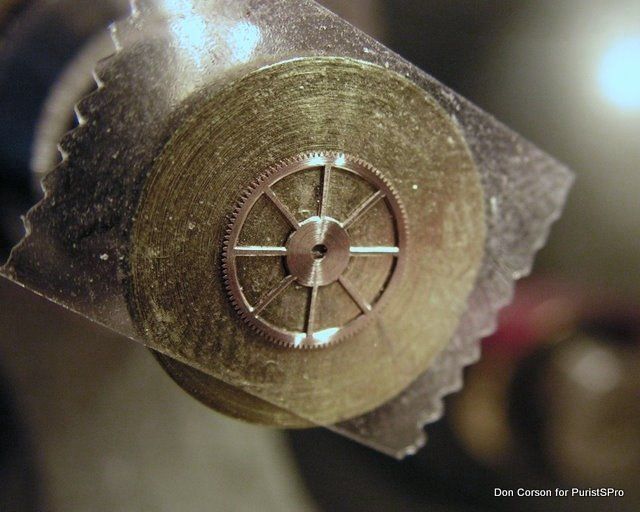
First the wheels are removed from the pinions in order to be able to work on them.

The intermediate wheel mounted on a fixture ready to start the work, note the ugly rounded corners of the spokes.

1) Square up all the corners
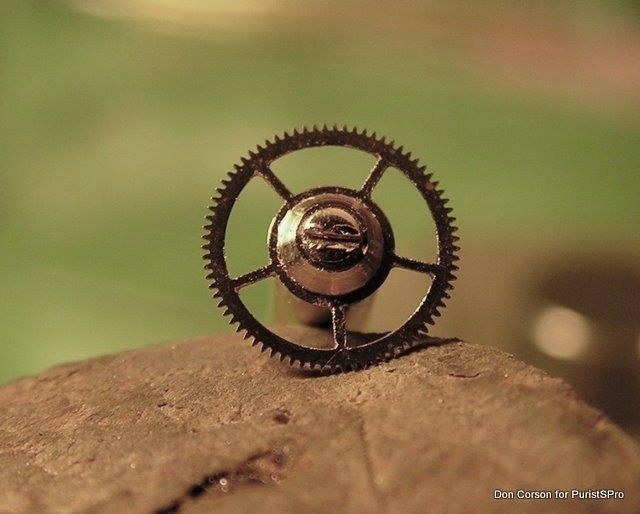
2) Bevel all the edges with a fine file.
3) 4) 5) Finer finishing up to polished bevels
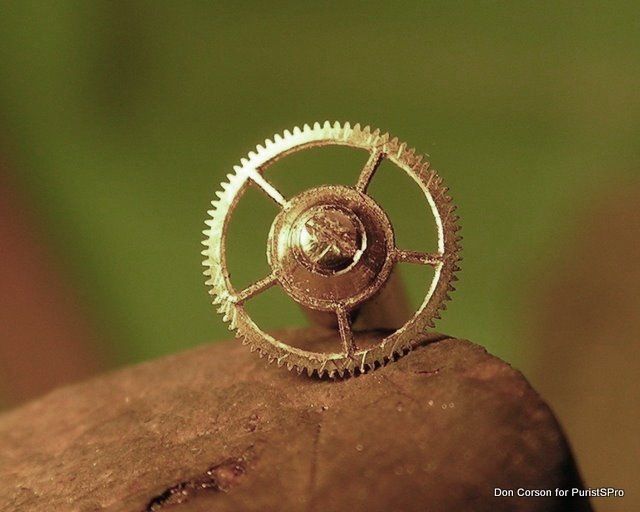
Here the seconds wheel. In the pictures these pieces all look nice and big, easy to work on, but take your watch and
take a good look at the real size of the seconds wheel, for example. Now imagine the size of the tools and the care
needed to work on that piece!
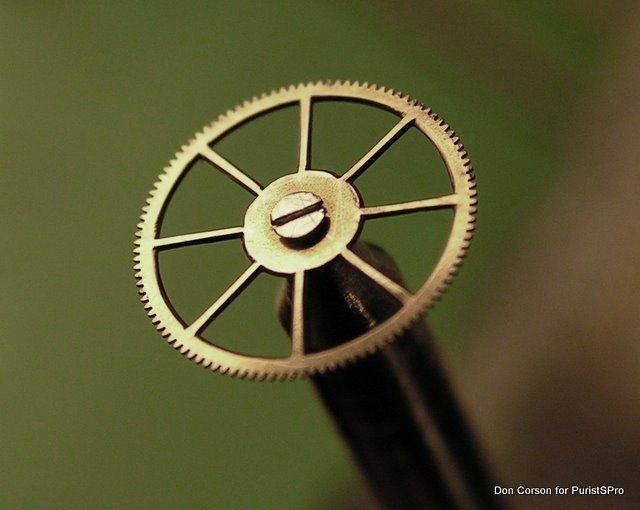
6) Cerclage (French "cerclage" meaning an encircling) with finishing film.
The wheel is held in place on the lathe with double sided tape.
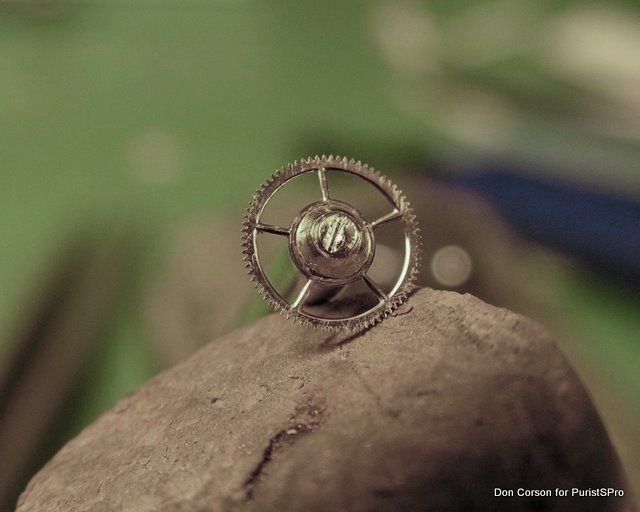
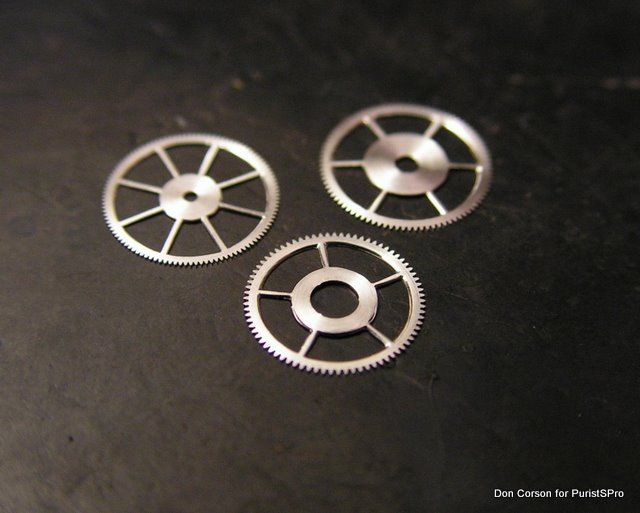
The decorated wheels (with polished bevels and cerclage) are ready for plating.
Plating is not just decorative, but prevents the brass from oxidising with time.
7) Back from rhodium plating.
The idea for this watch is to make the decoration the same from the dial side and the movement side.
Both the dial and the movement have ruthenium plated Côtes de Genève and there are rhodium plated hands and wheels.
Curious to see how this works when the watch is completed.
Now more work for the dial side, making the hands.
The hands are cut out roughly from a piece of hammered 18k gold sheet.
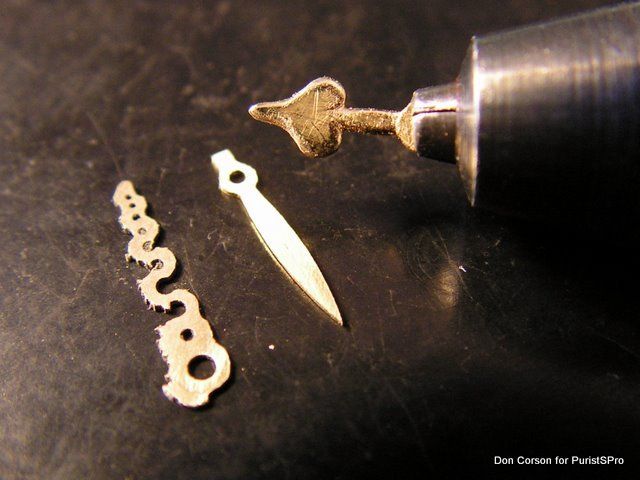
The hour-hand formed with a fine file and degussit stone.
The hour and minute hands are ready for finer finishing and final polishing.
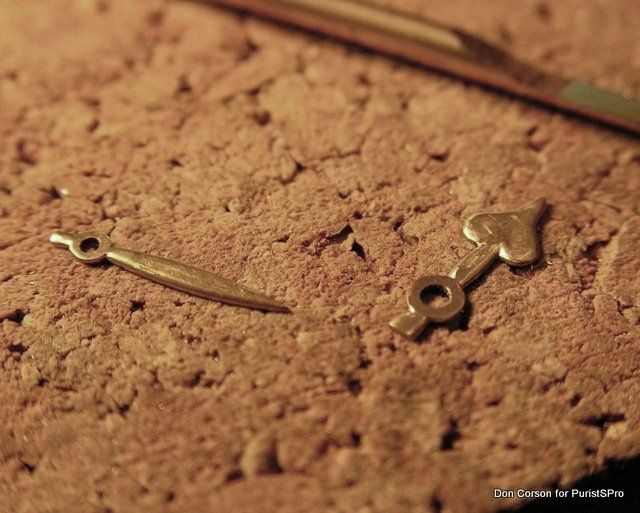
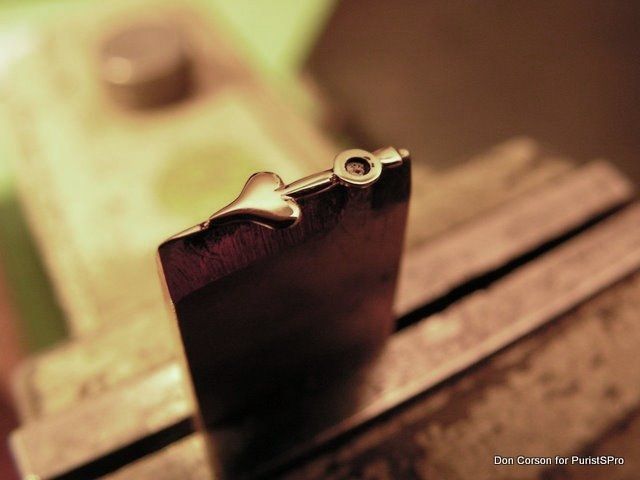
The hour hand polished, there is still some residue of the polish on certain places.
The seconds-hand is ready for polishing.
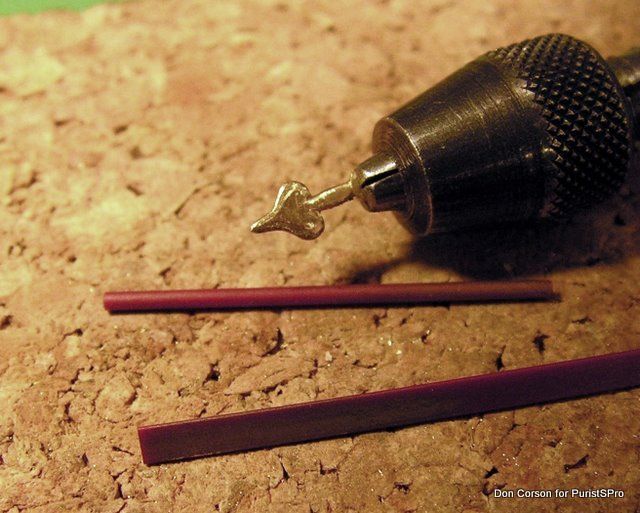
Now the three hands are ready for rhodium plating.
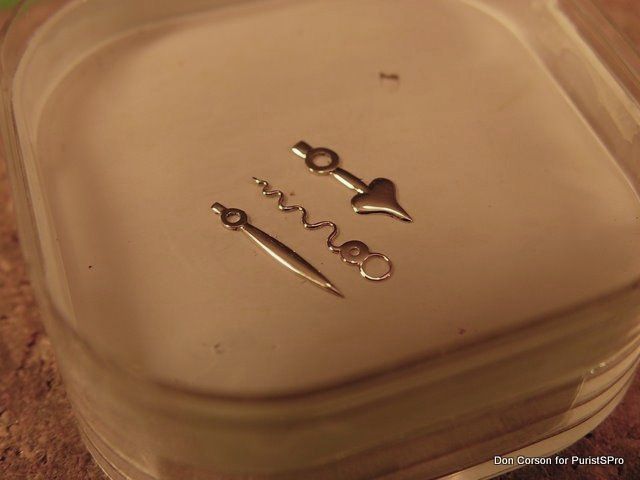
Of course the hands want to be presented before a nice dial.
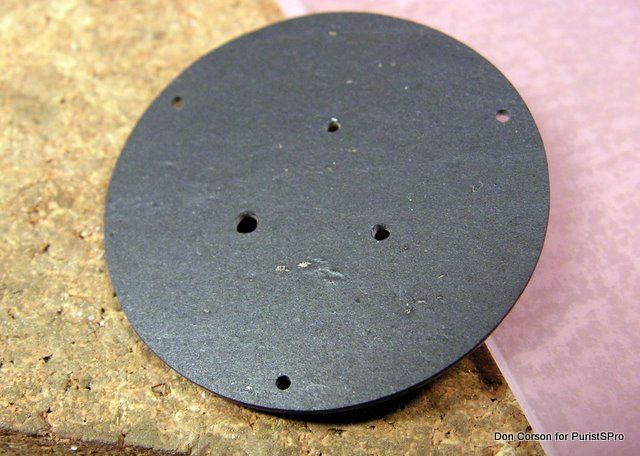
Here the raw slate dial, slate glued to a brass support with the dial feet.
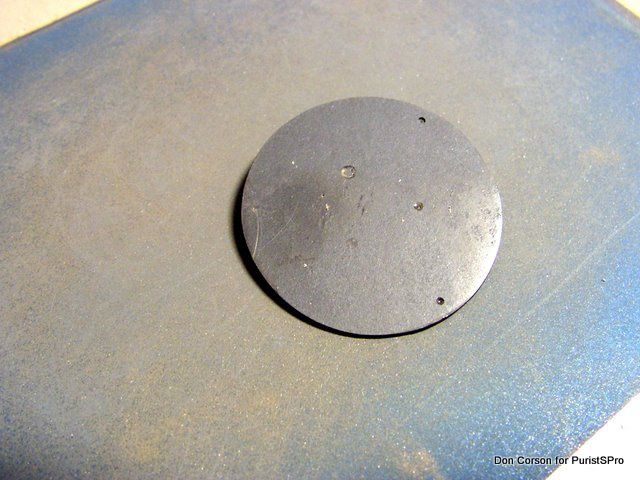
After filing to thickness and polishing the pyrite speckles and the figuration in the stone is brought to the fore.
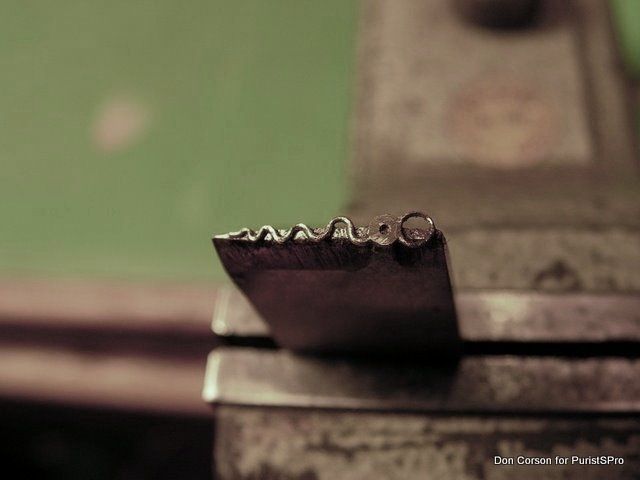
The dial is printed using transfer printing. The pattern to be printed is engraved on a steel plate. The ink is smeared on
this plate and then the surface is cleaned off using a sharp spatula which leaves ink in the engraved recesses of the
steel plate. This ink is then picked up and transferred to the dial with a gelatine tampon, thus “transfer printing”.
According to Don, he went to one of the few remaining specialists in Switzerland who still does this work by hand, one piece at a time.
The case Don is working on now is a prototype in brass.
Will present just one little part of the case making, making the crown. The rest of the case and the buckle is made
similarly. Starting from a cast blank the piece is turned and/or filed by hand to its final size and shape after which the
surface finishing, brushing or polishing is applied. This is exactly the same procedure that Don uses for the final case in gold.
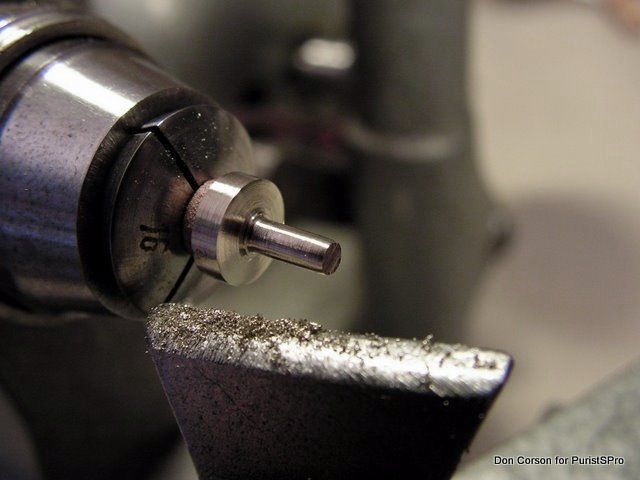
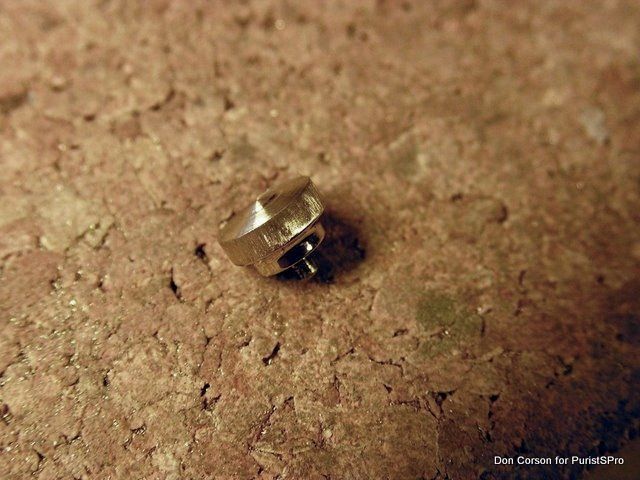
Here is the crown as it has come back from casting.
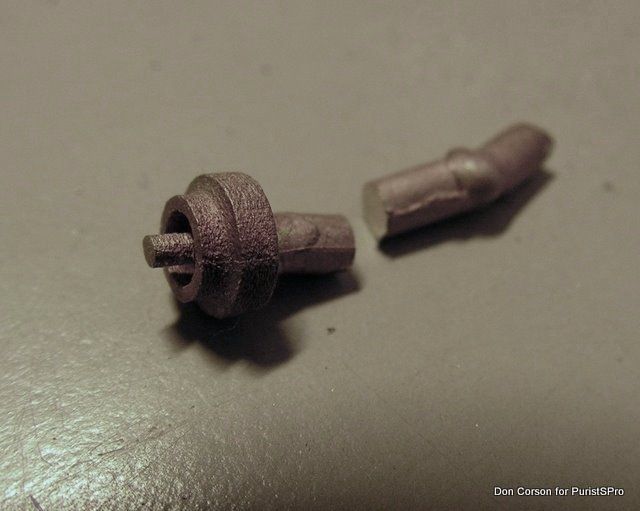
After cutting of most of the sprue (the sprue is the channel through which the molten metal is poured into the casting mold)
the rest will be turned true as a support for turning.
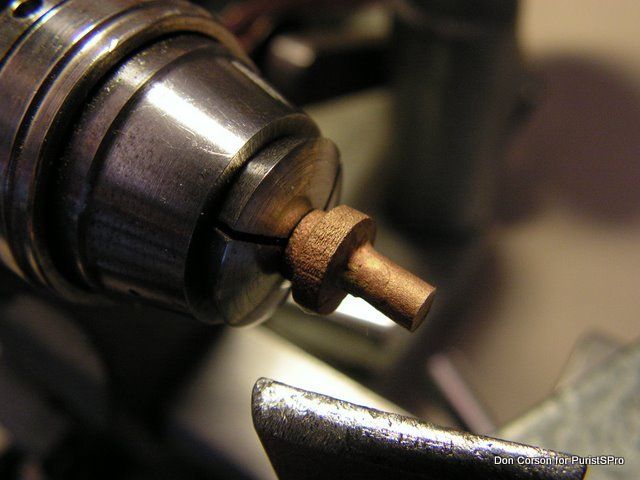
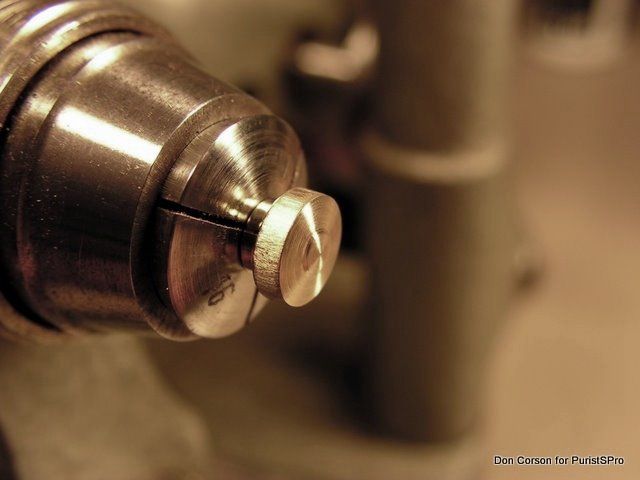
Here the body of the crown is cleaned up.
Now chucked up by the sprue the inside of the crown can be turned.
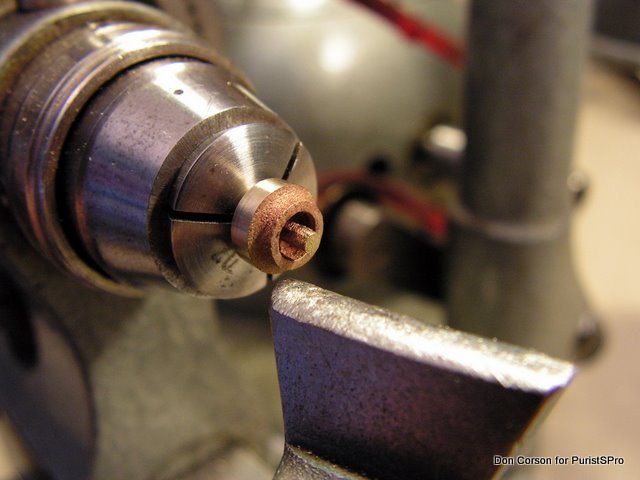
The water tightness of the crown gasket depends on the inside being turned smooth and to dimensions.
A ring will be pressed in later to hold the gasket in place.
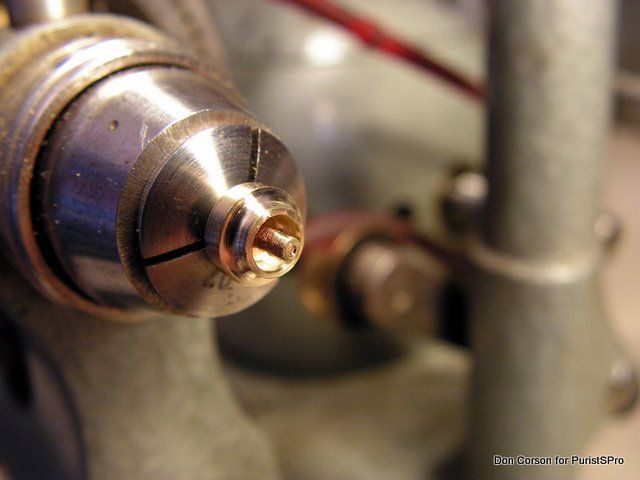
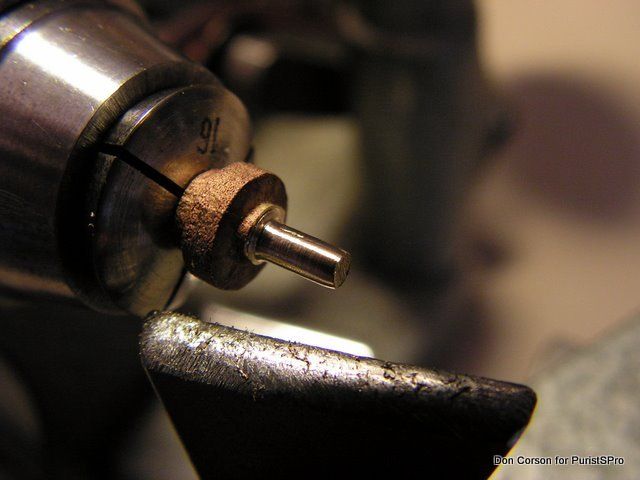
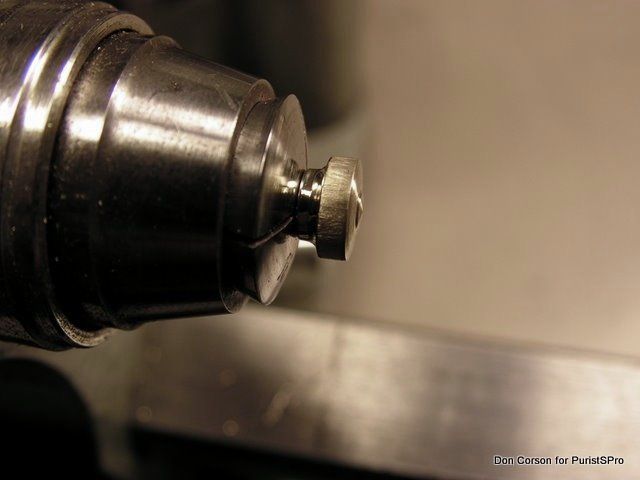
The threaded hole for the stem is drilled and tapped and the concave surface is polished.
And finally the end of the body brushed concentrically…
and the edge brushed straight.
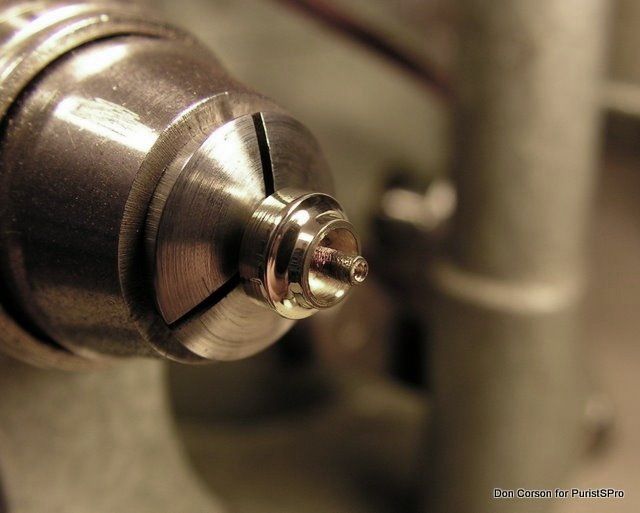
The completed prototype crown will now be gold plated, the final crown will, of course, be solid gold as will be the case.
For the crown this goes relatively quickly as all can be done on the lathe, this is less than half a day’s work. The total
time for all the case work is about a week of filing and finishing by hand.
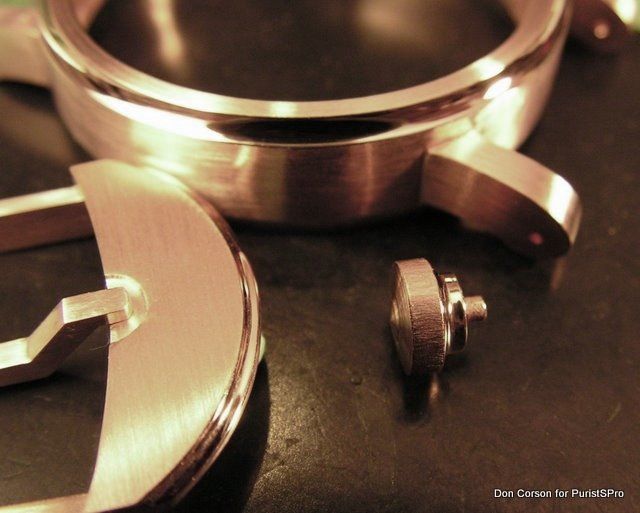
Here the results after gold plating in 5N red gold.
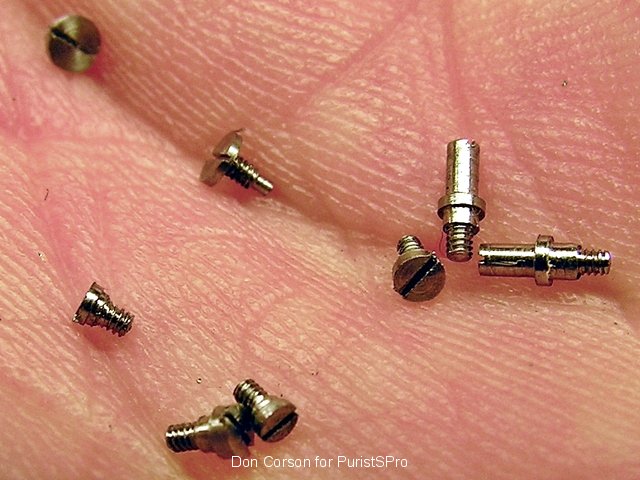
Screws are another interesting story. Although he purchases the standard screws he still needs to finish them and all
the shoulder screws and other non-standards screws he makes.
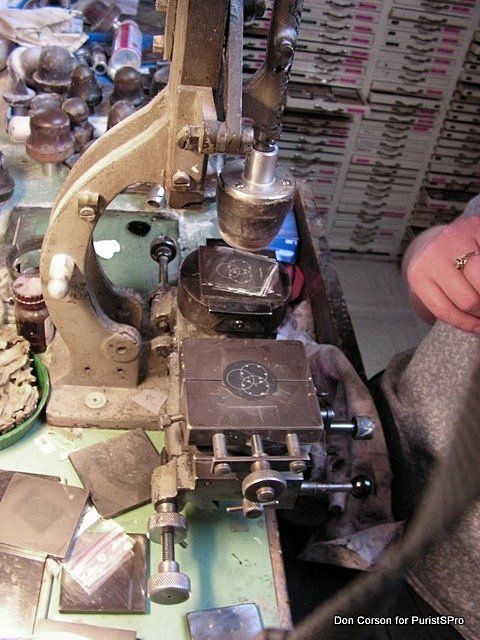
Here we see the click screw in the lathe ready to be parted off.

Here is a handful of screws Don made before hardening and polishing. Note there are 2 of each, one is used while
working on the movement and may end up being screwed in and out many times, the other will be installed when the
movement is finally assembled, just once.
Will spare you the pictures of screw polishing. There is not much to see and many steps.
Take a factory made screw and ...
- 1. File the head flat
2. Lap with 9um film
3. Bevel the slot
4. Lap and then polish the surface on a tin block
5. Bevel the circumference
6. Finish the side.
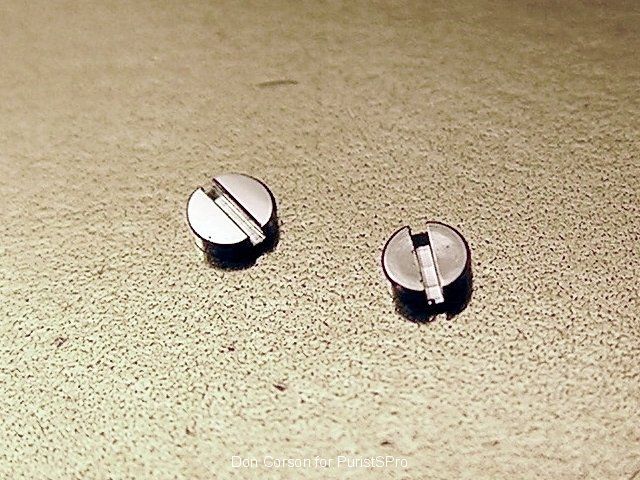
When you consider that the factory time to make the screw was probably measured in a couple of seconds on an
automatic-screw-making machine, the manual finishing seems excessive at about 15 minutes per screw.
But wow do those screws shine, see the difference yourself below.
At this point, Don has all the parts ready.
In the next instalment he will reassemble the movement and case up the finished watch.
Here just a little teaser:
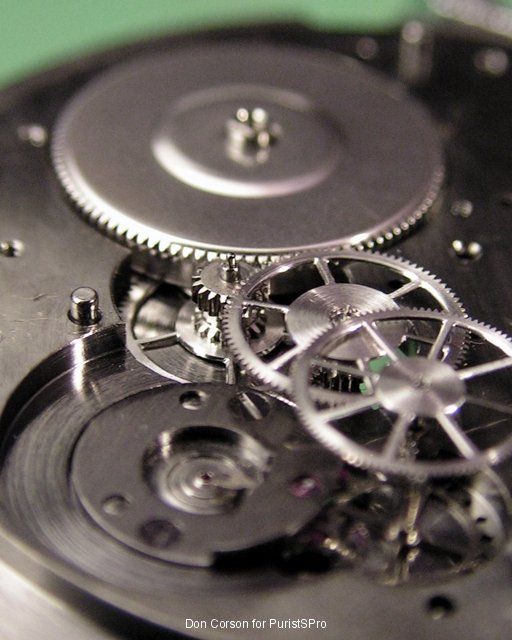
Stay tuned for the last installment!
Источник:
http://home.watchprosite.com/show-fo...ti-503136/s-0/


